Google Tag Manager
Esta página aún no está disponible en tu idioma.
If you manage multiple Pixels through Google Tag Manager (GTM) and advertise across various platforms, connecting your SchedAgent Booking Page with GTM allows you to track crucial metrics and traffic sources. This integration enables you to gather data for remarketing efforts and more streamlined analytics.
The Google Tag Manager integration for SchedAgent is free and will not be counted towards your total number of Custom Features & Integrations.
To enable this integration, navigate to the Features & Integrations section within SchedAgent. Locate the “Google Tag Manager” integration, and activate it with a simple click on the “Enable” button.
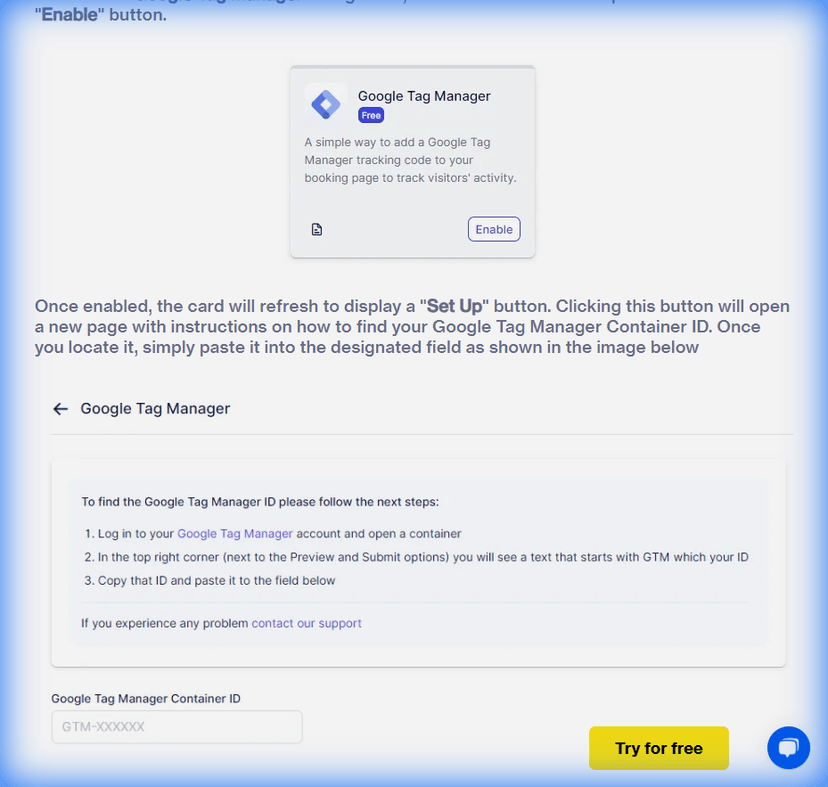
Once enabled, the card will refresh to display a “Set Up” button. Clicking this button will open a new page with instructions on how to find your Google Tag Manager Container ID. Once you locate it, simply paste it into the designated field.
After pasting the ID, click on the “Save Changes” button that appears at the bottom of your screen and your GTM account will be connected with your SchedAgent account.
Please note that SchedAgent sends the custom event trafft_booking_success to GTM. To test if this event is functioning correctly, navigate to the “GTM Preview” page (within GTM) and test the URL.
SchedAgent uses dynamic routes for the booking form. If you set a conversions goal destination URL, for example, /step-4, and a user arrives at the booking page from service details, the number of steps is reduced by 1, resulting in the success page being /step-3.
Here are the details of the custom event that you can track in GTM:
- category: ‘TRAFFT_BOOKING’
- event: ‘trafft_booking_success’
- action: ‘trafft_booking_success’
- label: ‘trafft_booking_success’
- value: ‘trafft_booking_success’
Use this information to set up custom event tracking in GTM and monitor successful bookings on your SchedAgent Booking Page.